What you’ll learn:
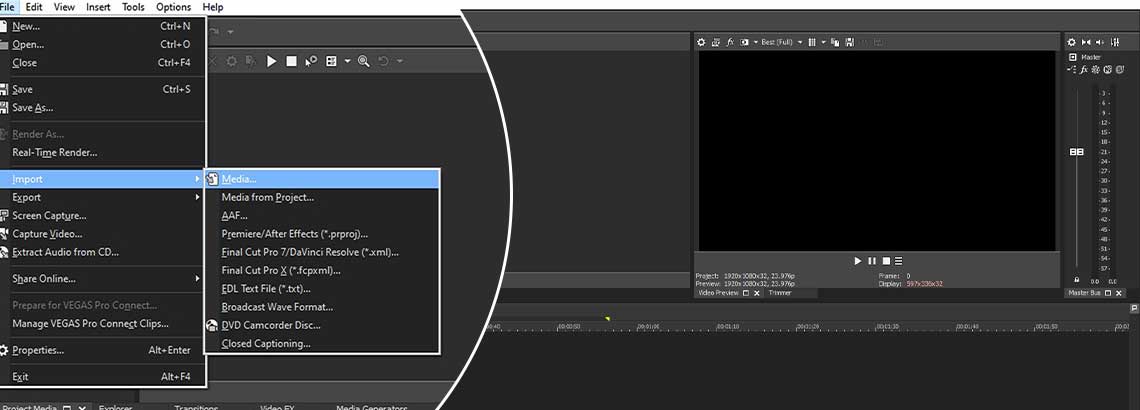
We'll follow these steps:
Step 1: Import video
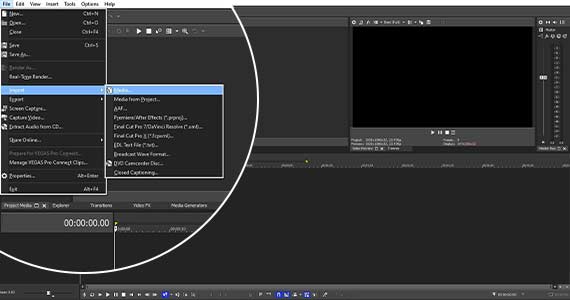
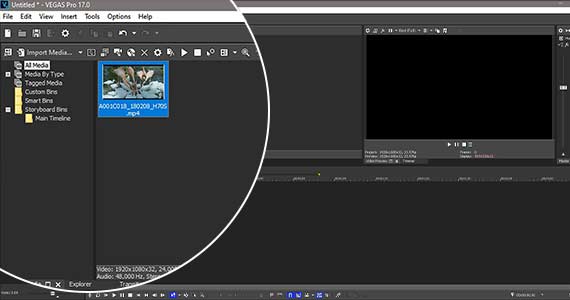
Step 2: Add Video to the Timeline
Step 3: Reverse the Video
Step 4: Save the Reversed Video
Read on to find out just how easy it is!
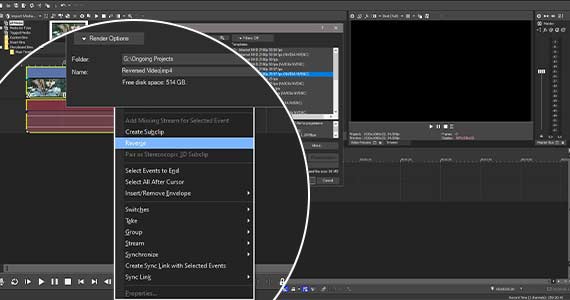
✓ Select both the video event and associated audio event. Right-click the video event. Choose Reverse.
A small arrow icon appears on the left edge of the video event, pointing to the left. This indicates that the video in the event is reversed.
The event will now play in reverse, and will behave on the timeline as though it is natively reversed. That is, you can scrub through the event and it will display the frames in reverse order, and if you extend or retract either end of the event on the timeline, the frames will also be in reverse order.
Also, when you reverse a video event, a new subclip appears in the Project Media window. The new clip’s file name will be the same as the original clip, but with the addition of “- subclip X (reversed),” where X is the number of the subclip. You can add this new subclip to the timeline at any point as an automatically-reversed version of the original clip.
If you did not select both the video event and the audio event when you reversed the event, the audio event will not be reversed, and there will be no arrow icon. If you want to reverse it, you can now right-click the audio event and choose Reverse. An arrow icon on the audio event confirms the reversal. However, if it suits your project to reverse either the video or the audio and not the other, you’re always free to reverse only one.
If you want to set the event back to normal playback, right-click on the event and uncheck Reverse. The reversed subclip will remain the Project Media pool, so you can still drag it to the timeline at any time.
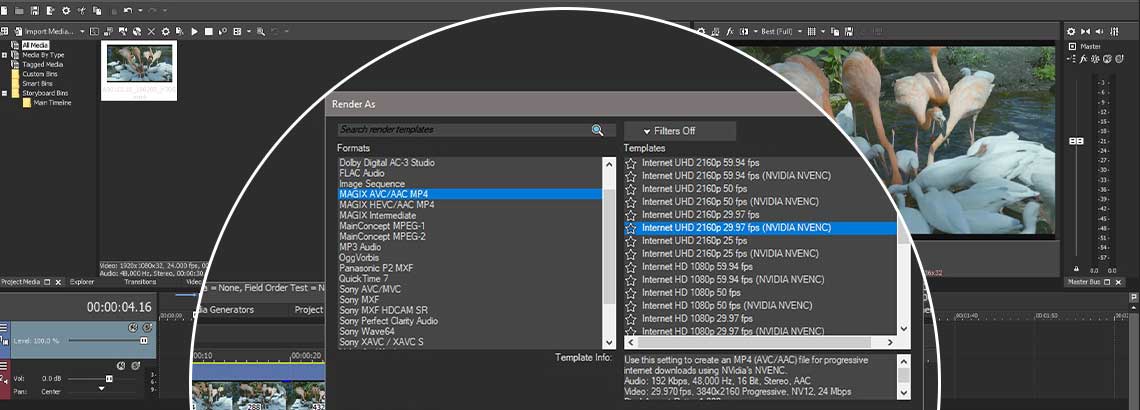
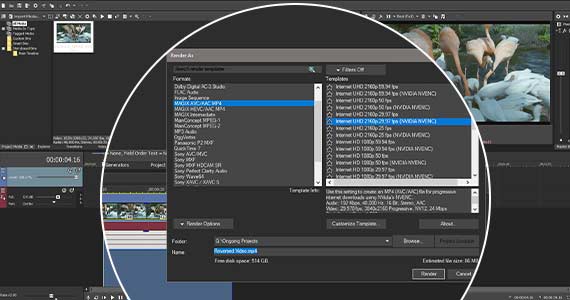
As we said, when you reverse the video in an event, VEGAS Pro creates a subclip which appears in the Project Media window, which you can use as a timeline event as many times as you want. But if you want to make a permanent copy of the reversed video, to save processing power or to use in another project, you can render a video to create a separate video file.
✓ Double-click the event to create a loop region.
✓ In VEGAS Pro, click the Render As button in the toolbar. The Render As window appears.
✓ Choose your preferred video format from the Formats list, and then choose the template which matches your video properties from the Templates list.
✓ Click Browse, then navigate to the folder where you want to save the file. Designate a file name. Click Save. You are then returned to the Render As window.
✓ Click Render. VEGAS Pro renders the video and you now have a permanent copy of the video in reverse.


What's the difference between VEGAS Pro and VEGAS Pro Suite?

